Since the beginning of quarantine, our family has started to really dive into the sensory bin trend. I was a little apprehensive in the beginning. I didn’t think I’d be able to make them cute or as nice as the ones I’ve seen on Pinterest.
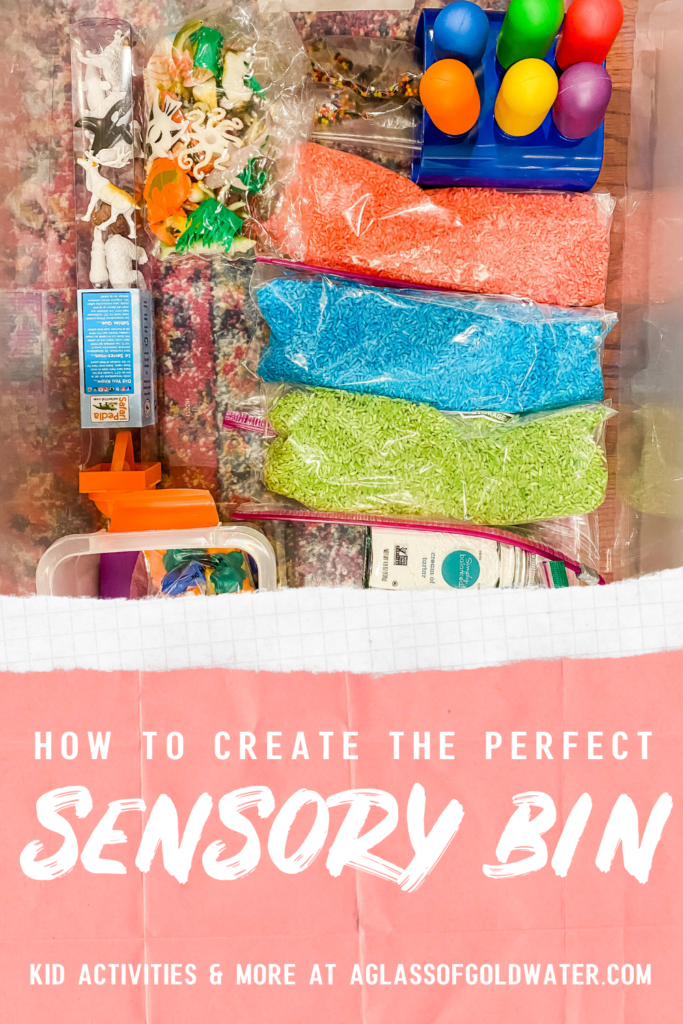
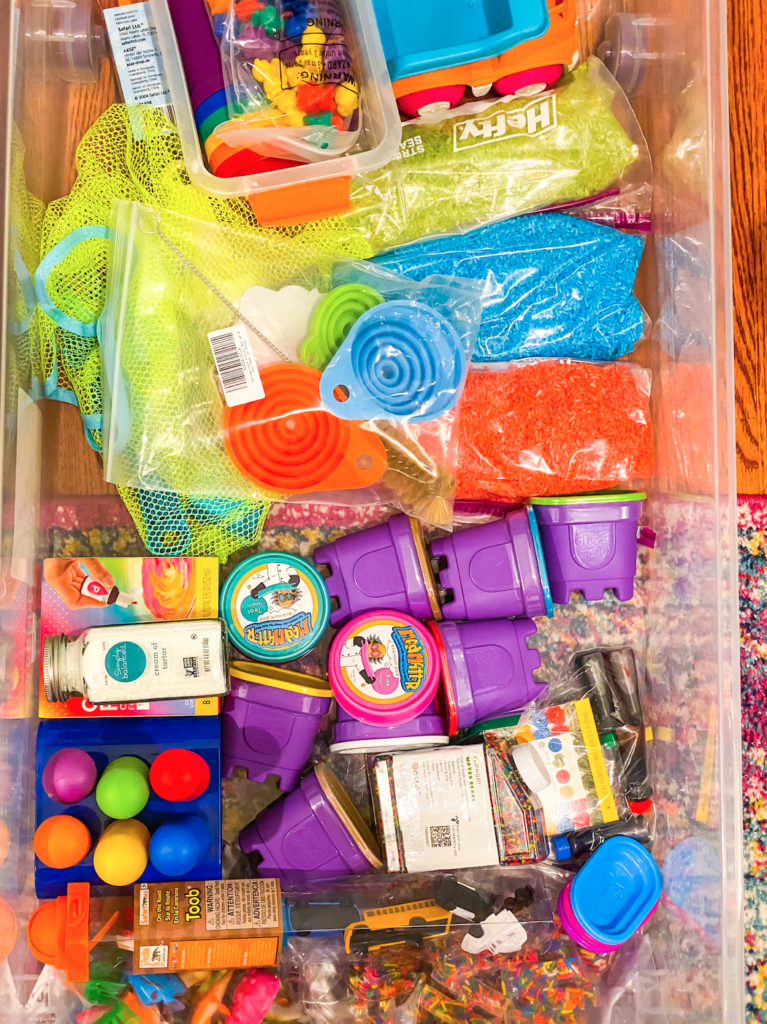
But I’m pretty dang proud of myself! I’ve curated a box of multiple sensory play options for my kids, so I always have something to pull out for them to do. It’s like Mary Poppins’ bag of the new decade. My kids LOVE sensory activities, and I think your kiddos will too. So let me break the box down for you:
Let’s talk bins:
I love the 60 qt Sterilite, under bed storage bin to store everything. It’s got so much room so everything fits, but it’s thin enough that it can be stored under a bed or cabinet.
Then I use the 32 qt. Sterilite bin as a base for sensory play. Another smaller bin, usually this one, either one or two of them goes inside the 32 qt bin. I use the larger bin with the smaller inside as a way to contain mess a little better. Sometimes I use this Sterilite bin as the smaller bin as well.
I also like to lay down our wipeable picnic blankets for even extra mess-protection!
Now for the bin basics:
Every sensory bin needs a base. We’ve found a few different mediums that we really like in our house:
- Kinetic Sand
- Kinetic Dirt
- Water Beads
- Mad Matter
- Rainbow Rice (recipe below)
- Water with food coloring
Here are some of our favorite sensory bin activities:
Ocean Rescue:
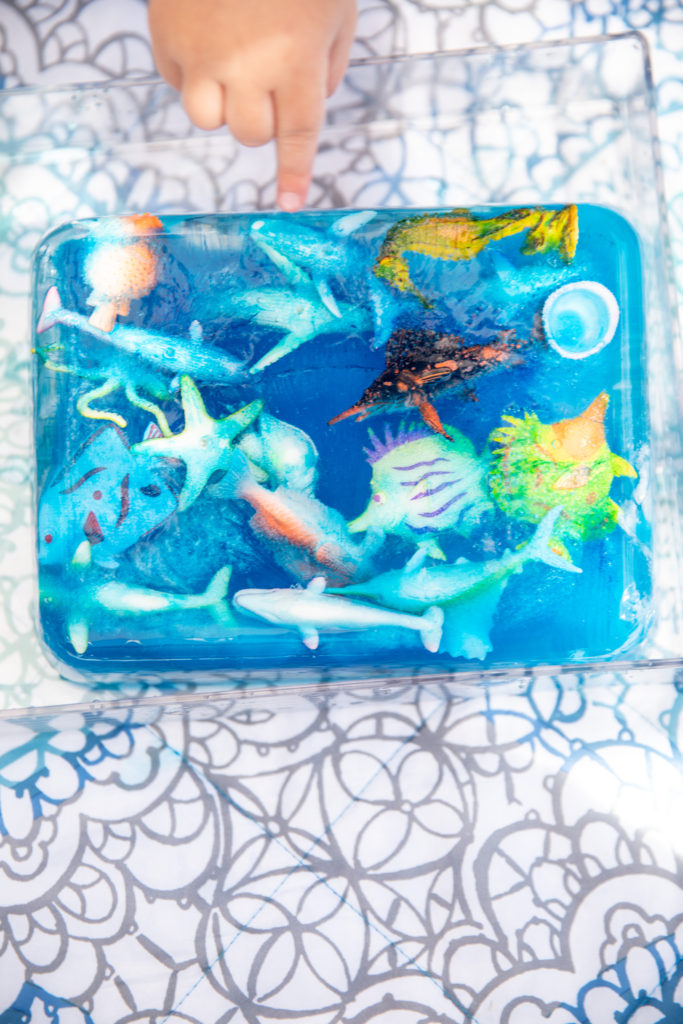
Inspired by @mothercould:
You need:
- small plastic sea animals
- blue food coloring
- freezer-safe container
- water droppers
- warm salt water
- Put the sea animals in the freezer-safe container, and fill it with water. Then put a few drops of blue food coloring in the water to make the “ocean” 🌊. Freeze overnight. ⏱ Run hot water over the bottom of the container to release the ice mold. Put the ice mold in a bigger plastic container. Have kids use droppers (I love the @learningresources ones on Amazon, but medicine droppers will work too!) of warm salt water to melt the mold, until they set the animals free! Sun helps too! ☀️ Then they can play with their animals in the ocean! This was a fan favorite! 🙌🏻 **#ProTip: Do the melting part outside on a blanket. Much less mess!
Construction Site:
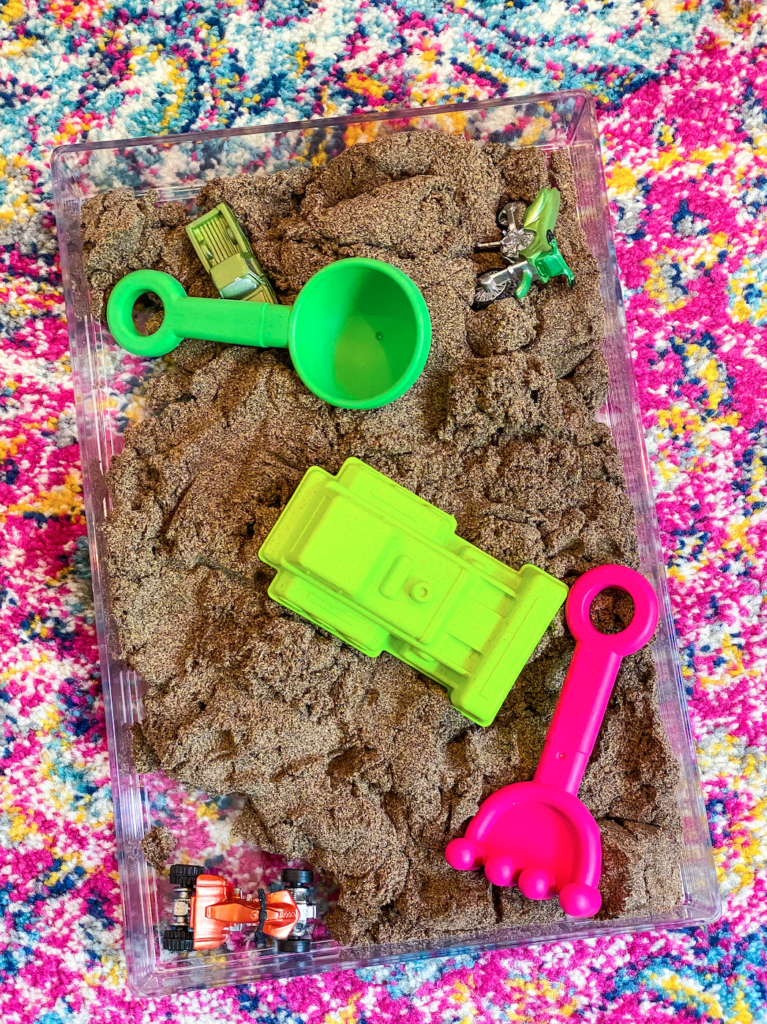
This is as easy as it gets. Put the kinetic dirt in a bin with sand toys and/or mini-construction vehicles. The end. Azi LOVES this one.
Water Bead Fun:
Anything can go in a bin of water beads! Literally anything. You can stick scoopers, small animals to find, other sorting pieces — anything!
Rainbow Rice:
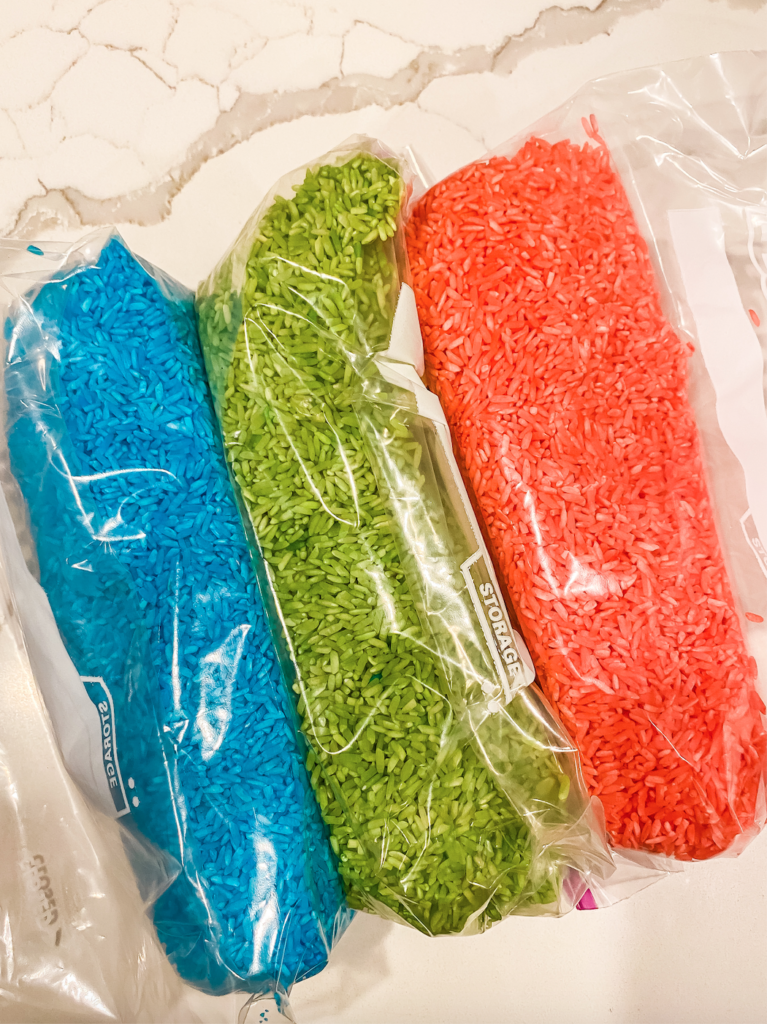
One of the first sensory bases that I tried to make myself! This is the recipe I borrowed from Mother Could:
👉🏼YOU’LL NEED:
-White rice (buy the cheapest)
-Vinegar
-Food coloring
-Flat tray
-Parchment or wax paper
👉🏼INSTRUCTIONS:
1️⃣Measure 1 cup of rice for every 1 tablespoon of vinegar.
2️⃣Add rice and vinegar to a plastic bag.
3️⃣Add few drops of food coloring (a little goes a long way) into a ziplock bag.
4️⃣Shake very well until all the rice grains are colored.
5️⃣Lay out to dry on a flat tray over parchment/wax paper. Spread out into a thin layer. It should be dry in 30 minutes. The vinegar smell is very strong but if you leave it outside to dry, it helps. You can also add a few drops of essential oils.
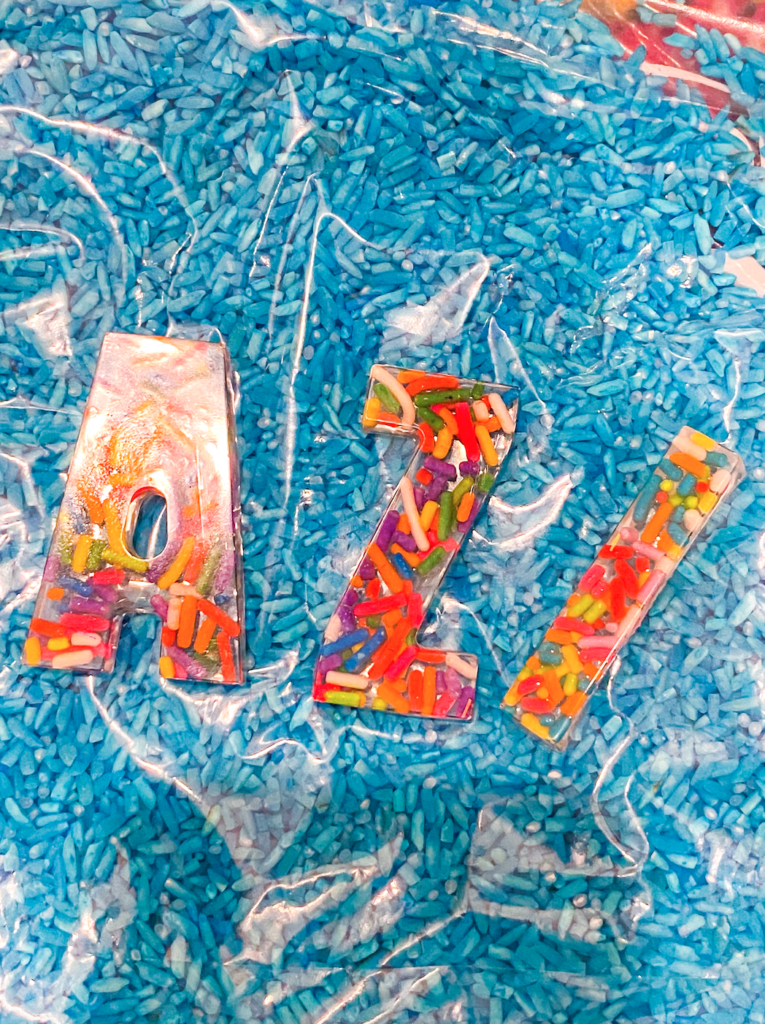
It definitely smells a little bit, but it’s worth it. I bought these Sprinkle Letters to use in the rainbow rice, from Happi Crafts. They’re definitely the most expensive item I’ve purchased for our bins, but they’re so unique, that I was happy to splurge. These could make a great present for other sensory lovers or for your own!
Other bins I want to create:
Homemade play-dough. I’ll probably check out Mother Could’s recipe. She’s a creative genius!
Cleanup:
I use the two-layer bin and the picnic blanket, but when the inevitable mess happens, I always use a vacuum and
Miss Mouth’s, my trusty stain remover!





Leave a Reply