e We’ve been doing a lot of “Pinterest Mom” activities over the last few weeks. Things that I have typically said that I’d never do with my kids, or in my house. I think having low expectations has certainly helped this time of social distancing and homeschooling, but I feel like this experience has been an overall Mom Win for me. And I’m really proud of that.
With that said, I’d love to share one of our favorite sensory activities that we’ve tried: Water Beads.
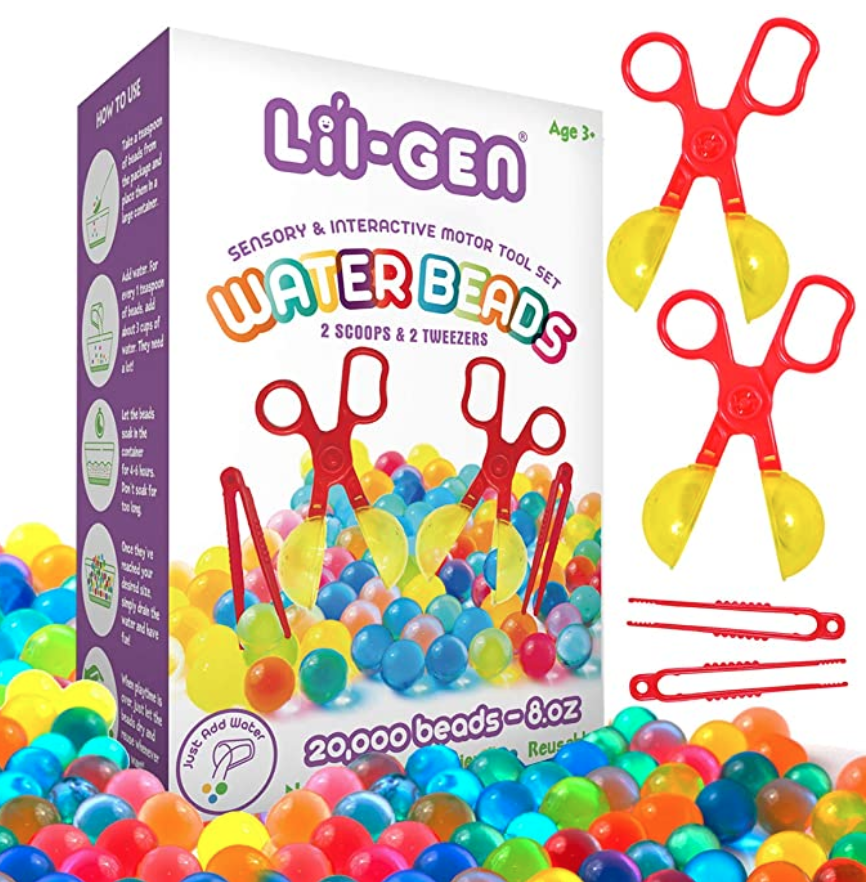
I finally caved after seeing so many other people experimenting with Water Beads, and I bought this Water Bead set on Amazon. Shockingly, it’s still available for Amazon Prime delivery, and it’s under $15. I guess Amazon knows that some things really are necessities for moms at home with our kids.
There are a lot of different things you can do with water beads. Here are some best practices that have really worked well for us.
Here’s what you need to get started:
(just add water — really, that’s it!)
1. Let them grow.
It says on the instructions, but they do need to sit in water for 4-6 hours. And set up can definitely be part of the activity for older kids as well. The directions suggest combining 1 tsp. of water beads with 3 cups of water, and continuing until you have the amount desired.
With older kids, I suggest having them measure the teaspoons and cups of water. You can also discuss the multiplication math that will decide how many cups of water you need to add to your water beads. Another thing to do, would be to estimate the size container you need. For example, “Should we use a soup pot, a plastic bin or a bath tub.” Depending what you choose, it will either look like you have more or less water beads, but really it’s all the same size. You can also use different sized containers to compare what the same number of water beads looks like!
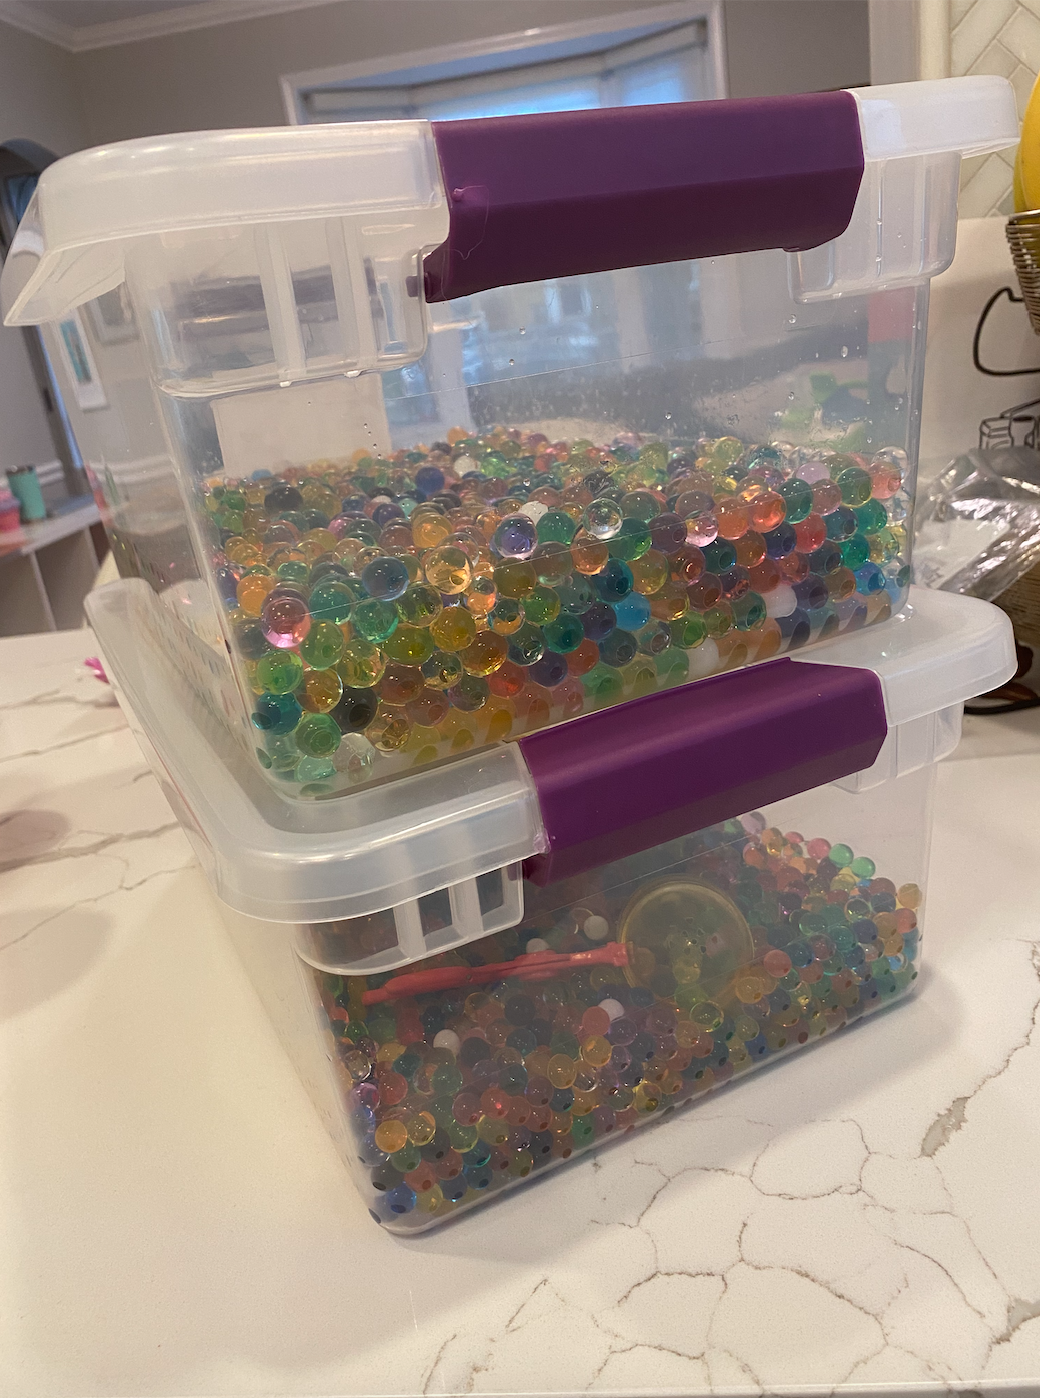
It’s really hard to tell how many teaspoons you’ll need because they are SO TINY in comparison to how big they’ll get. For each bin, I used about 20 teaspoons of water beads and 60 cups of water. I used 2, 15 qt size Sterilite bins with the purple clips from Target. You can definitely use a smaller container or larger, depending on what you want. I’ve heard of a lot of people using them in the bath tub, but I wasn’t so into that idea. The containers I chose worked really well.
I let the smaller beads grow for about 3-4 hours, and the larger beads were about 5-6 hours.
2. Get the kids excited.
If you have little kids, this could play out in a couple of different ways. 1) You can hide the water beads before they’r ready to be played with so your kids don’t freak out about a lack of instant gratification. 2) If you think your kids can handle it, then keep the water beads and bins out on the counter so they can watch them grow.
3. Get ready to play!
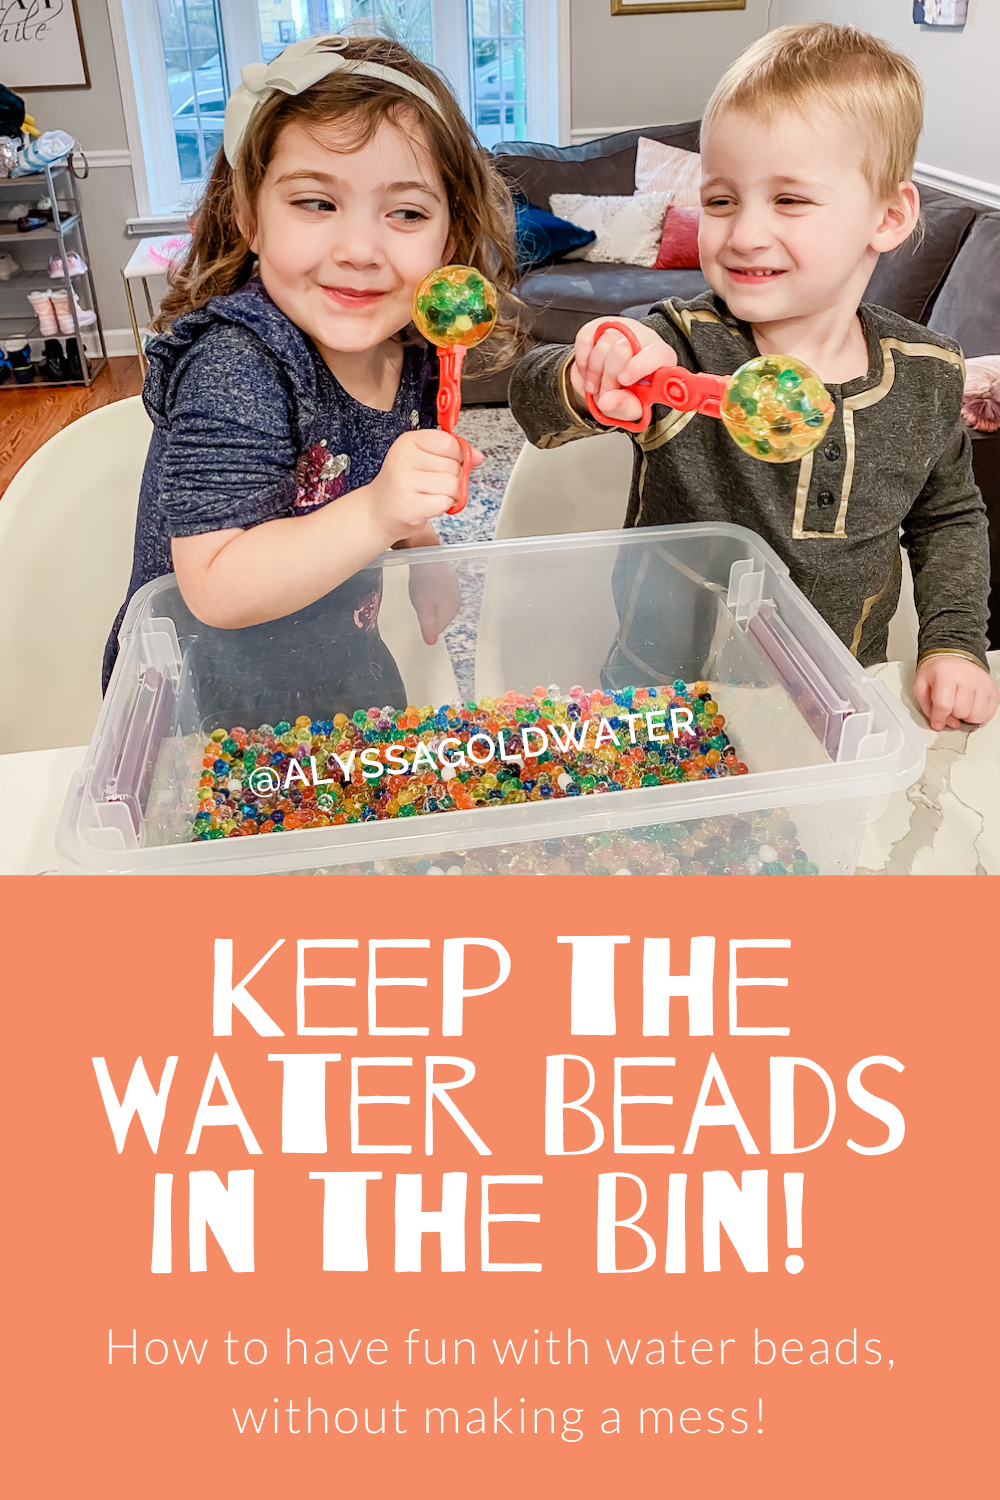
When the beads are “ready”, you just strain the water using a strainer. I had to do the larger beads in 2 strainers because they wouldn’t all fit in one. Then I dumped them right back into the bin, and let the kids have at it.
4. Set ground rules.
- “The beads stay in the box.” (on repeat)
- Only for use on hard surfaces. DON’T GO NEAR THE CARPET. I promise, they are really hard to pick up!
- Take a deeeeep breath. Some of these WILL get lost in your house. And unless you have a baby, where these could be considered a choking hazard, it’ll be just fine. If you have a baby, it will probably be just fine anyway. But you know what I mean.
extra activities:
- Have your children sort the beads by color.
- Have your children estimate how many scoops it will take to fill up a cup, with the water beads.
- Just play and feel them in your fingers. Ask your children to describe what they think it feels like.
hindsight tips:
- After a couple of days in the bin, they do begin to get a bit slimy. I tried rinsing them, and giving them a second chance. They’ll probably last a total of 4-5 days before needing to be trashed for new ones.
- Due to this, I would recommend using less teaspoons of beads initially, so your kit will last you longer. Fortunately, this is a pretty inexpensive activity (about $7.50/2 water bead bins).
- After they have been sitting, they squish and break much easier. DO NOT GET THESE ON YOUR CARPET. They are not easy to get out.
- I would recommend putting plastic down underneath the bins, even on a hard floor, because they’re slippery to pick up on the wood floor too!
We had about a quarter of the bag of water beads left, after we grew the ones we played with. We’ll save those for another day. I’m not sure how long they last, but I have heard they can become moldy after about a week. Just something to watch for.
I can’t describe how much I LOVE these. Sometimes at night, I go and play with them before I go to sleep, just to calm me down. It really is affordable fun for the whole family.
How does your family play with water beads? I’d love to know! Let me know in the comments! Happy playing! xo



Hi Alyssa. I saw in your stories how your kids loved playing with the beads. And you loved playing with them too. I’m glad you guys are having some fun. Alyssa you are a great mom. You have really amazing ideas. Thank you for sharing..
Thank you so much for watching!!
You can actually dry them out and reuse them later. I usually let them open for a day and then transfer them to a paper towel and spread them out to dry faster. This works better with the small ones than the large ones and you do need some space to allow them to dry. It takes a few days but my kids enjoy the dehydration process just as much as hydration!